
Grain salads are some of my very favorite foods year round but especially when summer's bounty brings sweet corn, ripe tomatoes and abundant basil to the farmer's markets.
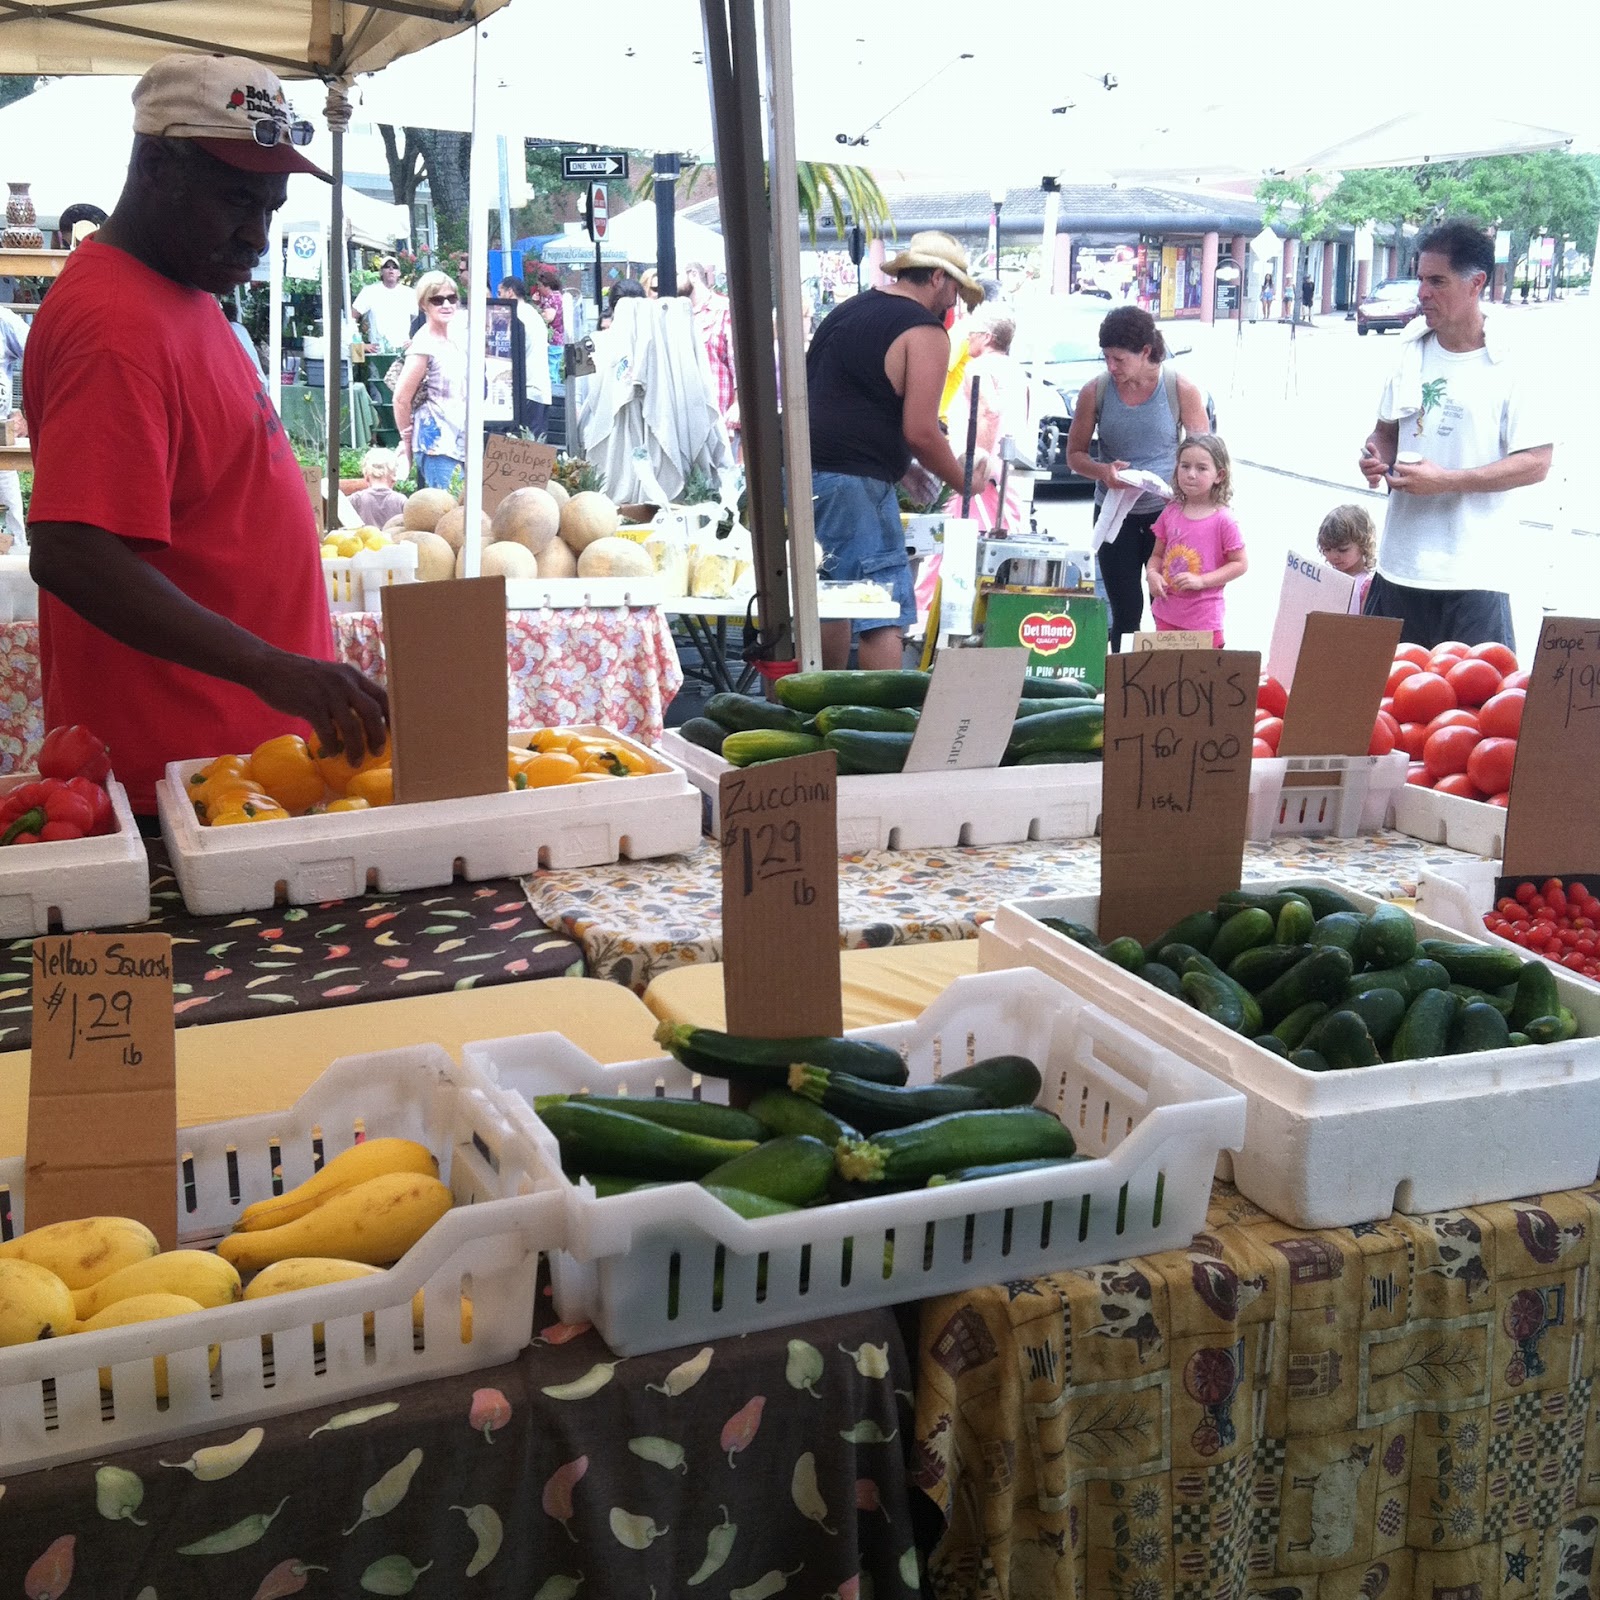 |
| Photo from this June's monthly Hyde Park Village Fresh Market |
Here are a few of the other grain salads I have made and shared:
- Superfood Quinoa Salad with Shrimp and Lemon Vinaigrette
- Mediterranean Red Quinoa Salad with Lemon-Tahini Dressing
- Chipotle Quinoa with Corn and Black Beans
- Mixed Greens with Herbed Lentils, Roasted Butternut Squash and Goat Cheese (not really a grain but similar in style)

This particular salad was filled with some of my favorite summer flavors - sweet corn, tomatoes and basil. I used cooked pearled barley because I like the size of the grains and the satisfying chew but you could always try some wild rice or cooked quinoa in its place - really, whatever you have on hand.
My favorite way to eat this salad is on top of a bed of baby mixed greens, arugula or spinach for lunch. The addition of the white beans makes this a bit sturdier than most pasta or grain salads, and with the filling fiber and protein in the beans, it is perfect for a light lunch. Or alternatively, omit the leafy greens and serve it as a side-dish with grilled or roasted chicken, barbecue pulled pork, or a piece of pan-sauteed flaky white fish for dinner. I like to think of grain salads as a healthier version of cold pasta salads, so they are perfect at tailgates, barbecues, potlucks or just a good old summer cookout.

Grilled Corn, Barley and White Bean Salad
serves 2-3, generously (this recipe can easily be doubled or tripled)
2 ears corn
juice from 1/2 a lemon (or up to 1 lemon, juiced)
2 tablespoons extra virgin olive oil (or up to 3 tablespoons)
salt and pepper, to taste (I used a scant 1/2 teaspoon kosher salt and scant 1/4 teaspoon fresh ground black pepper)
1 cup cooked barley2/3 cup canned white beans, drained and rinsed
3 green onions, the white and green parts, thinly sliced
2 ounces fresh mozzarella cheese, chopped into small bite-size pieces
2 tomatoes, partially de-seeded and diced
generous handful arugula leaves (about 1 cup loosely packed)
1/4 cup (loosely packed) chopped fresh basil
On an outdoor grill over medium heat, grill the shucked and rinsed corn for about 10-15 minutes, turning every few minutes, until the corn has light char-grill marks on all sides. Once cooked, strip the kernels off the cobs using a knife and allow to cool to room temperature.
While the corn cools, make the vinaigrette: in a small bowl whisk together the lemon juice, extra virgin olive oil, salt and pepper. Set aside.
In a large bowl, add the cooked, cooled corn kernels, cooked barley, beans, green onions, cheese, tomatoes, arugula and basil. Pour the prepared vinaigrette over and toss gently using 2 large spoons. Taste and add additional lemon juice, olive oil, salt and pepper if necessary. Add the chopped basil and toss once more, gently. Serve at room temperature or better yet, chilled in the refrigerator for 2-3 hours or prepare up to 2-3 days ahead of time. (If preparing the salad more than 2-3 hours ahead of time, hold off on adding the chopped basil and the arugula until ready to serve, as these are prone to wilt if stored for more than a few hours time).

Also - for those of you hoping to make homemade popsicles this summer, I spotted these star-shaped popsicle moulds at Target today in the dollar section at the front of the store for $2.50! Hurry and get them before they're sold out! Might I suggest you try my Mango-Yogurt popsicle recipe?

What is your favorite dish to bring to summer cook-outs and barbecues? I always like bringing a dessert because it gives me the chance to try a new recipe! Some past hits have been Dulce de Leche Cheesecake Bars and Chocolate Whoopie Pies.


